Avr2011 Programming The Kit
From HacDC Wiki
Hookup:
- your laptop
- an FTDI cable
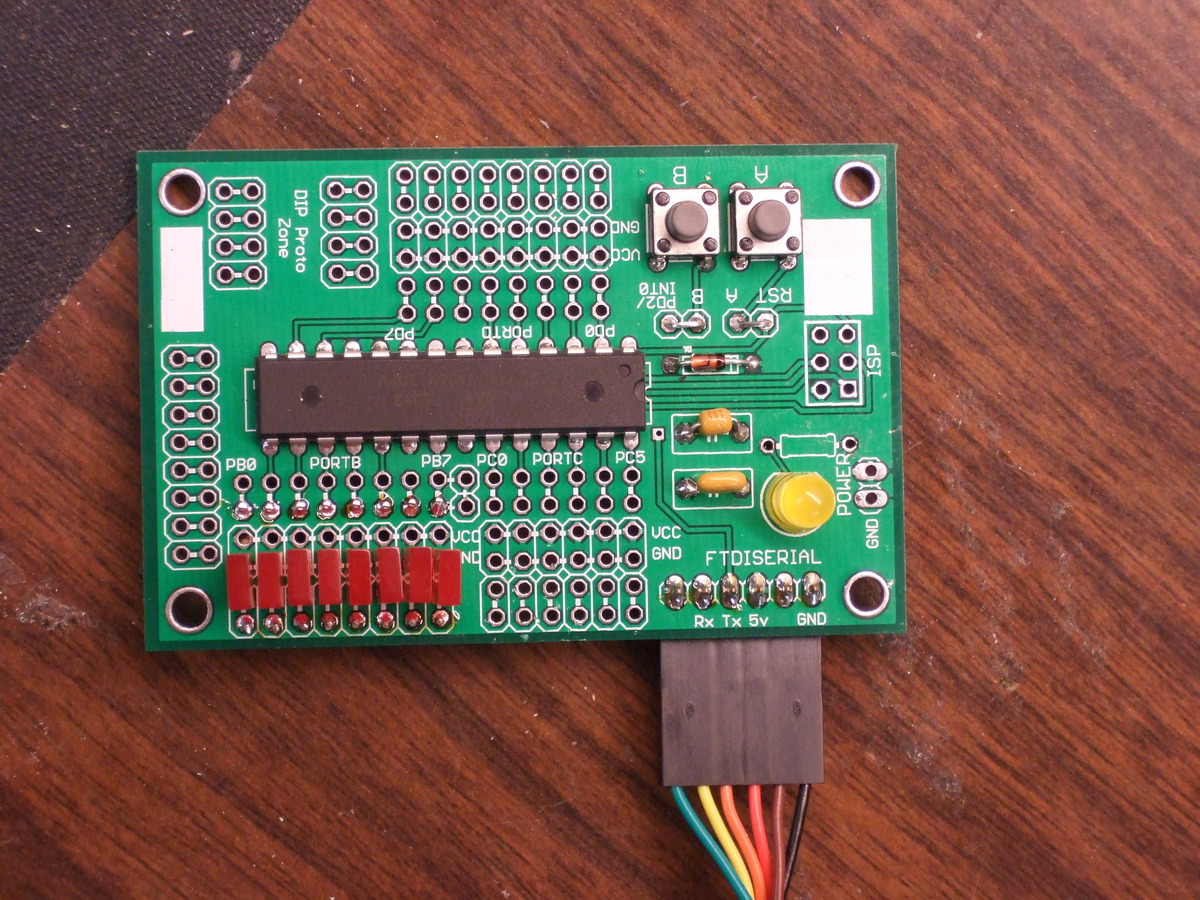
- the classboard, populated with chip and FTDI header
The chips we use in class are pre-flashed with a bootloader, which means that you can program them over the AVR's serial port.
Plug the FTDI cable into the board -- black wire to GND.
Getting the Board Into Bootloader Mode
When the chip starts up, the bootloader program checks for the "B" button (connected to PD2) being pressed. If the button is pressed, it sits and waits for programming data to come in over the serial line. If the button isn't pressed, it starts your program. So, what you want to do is reset the chip while the "B" button is pressed.
To get the chip into ready-to-program Bootloader Mode:
- Hold down the "B" button
- Tap the "A" button (RESET)
- Now you can release the "B" button
Programming the Chip
- Get the chip into bootloader mode
- While you're in the directory with your code and the Makefile, type "make" or "sudo make" into the terminal
- Your code will compile, and it will upload your code to the chip -- if all is well you will see a ghetto progress bar
- The chip will automatically reset and start running your program
If there are errors...
Common problems and their solutions include:
- Permissions to write to USB port. Solution: "sudo make" or add yourself to the USB output group (see below).
Tweaks
- If you're using Ubuntu, you may have to run "sudo make" in order to access the USB port. Feel free to add yourself to the "dialout" group which has the permissions.
sudo usermod -a -G dialout yourNameHere

