Category:Cube
From HacDC Wiki
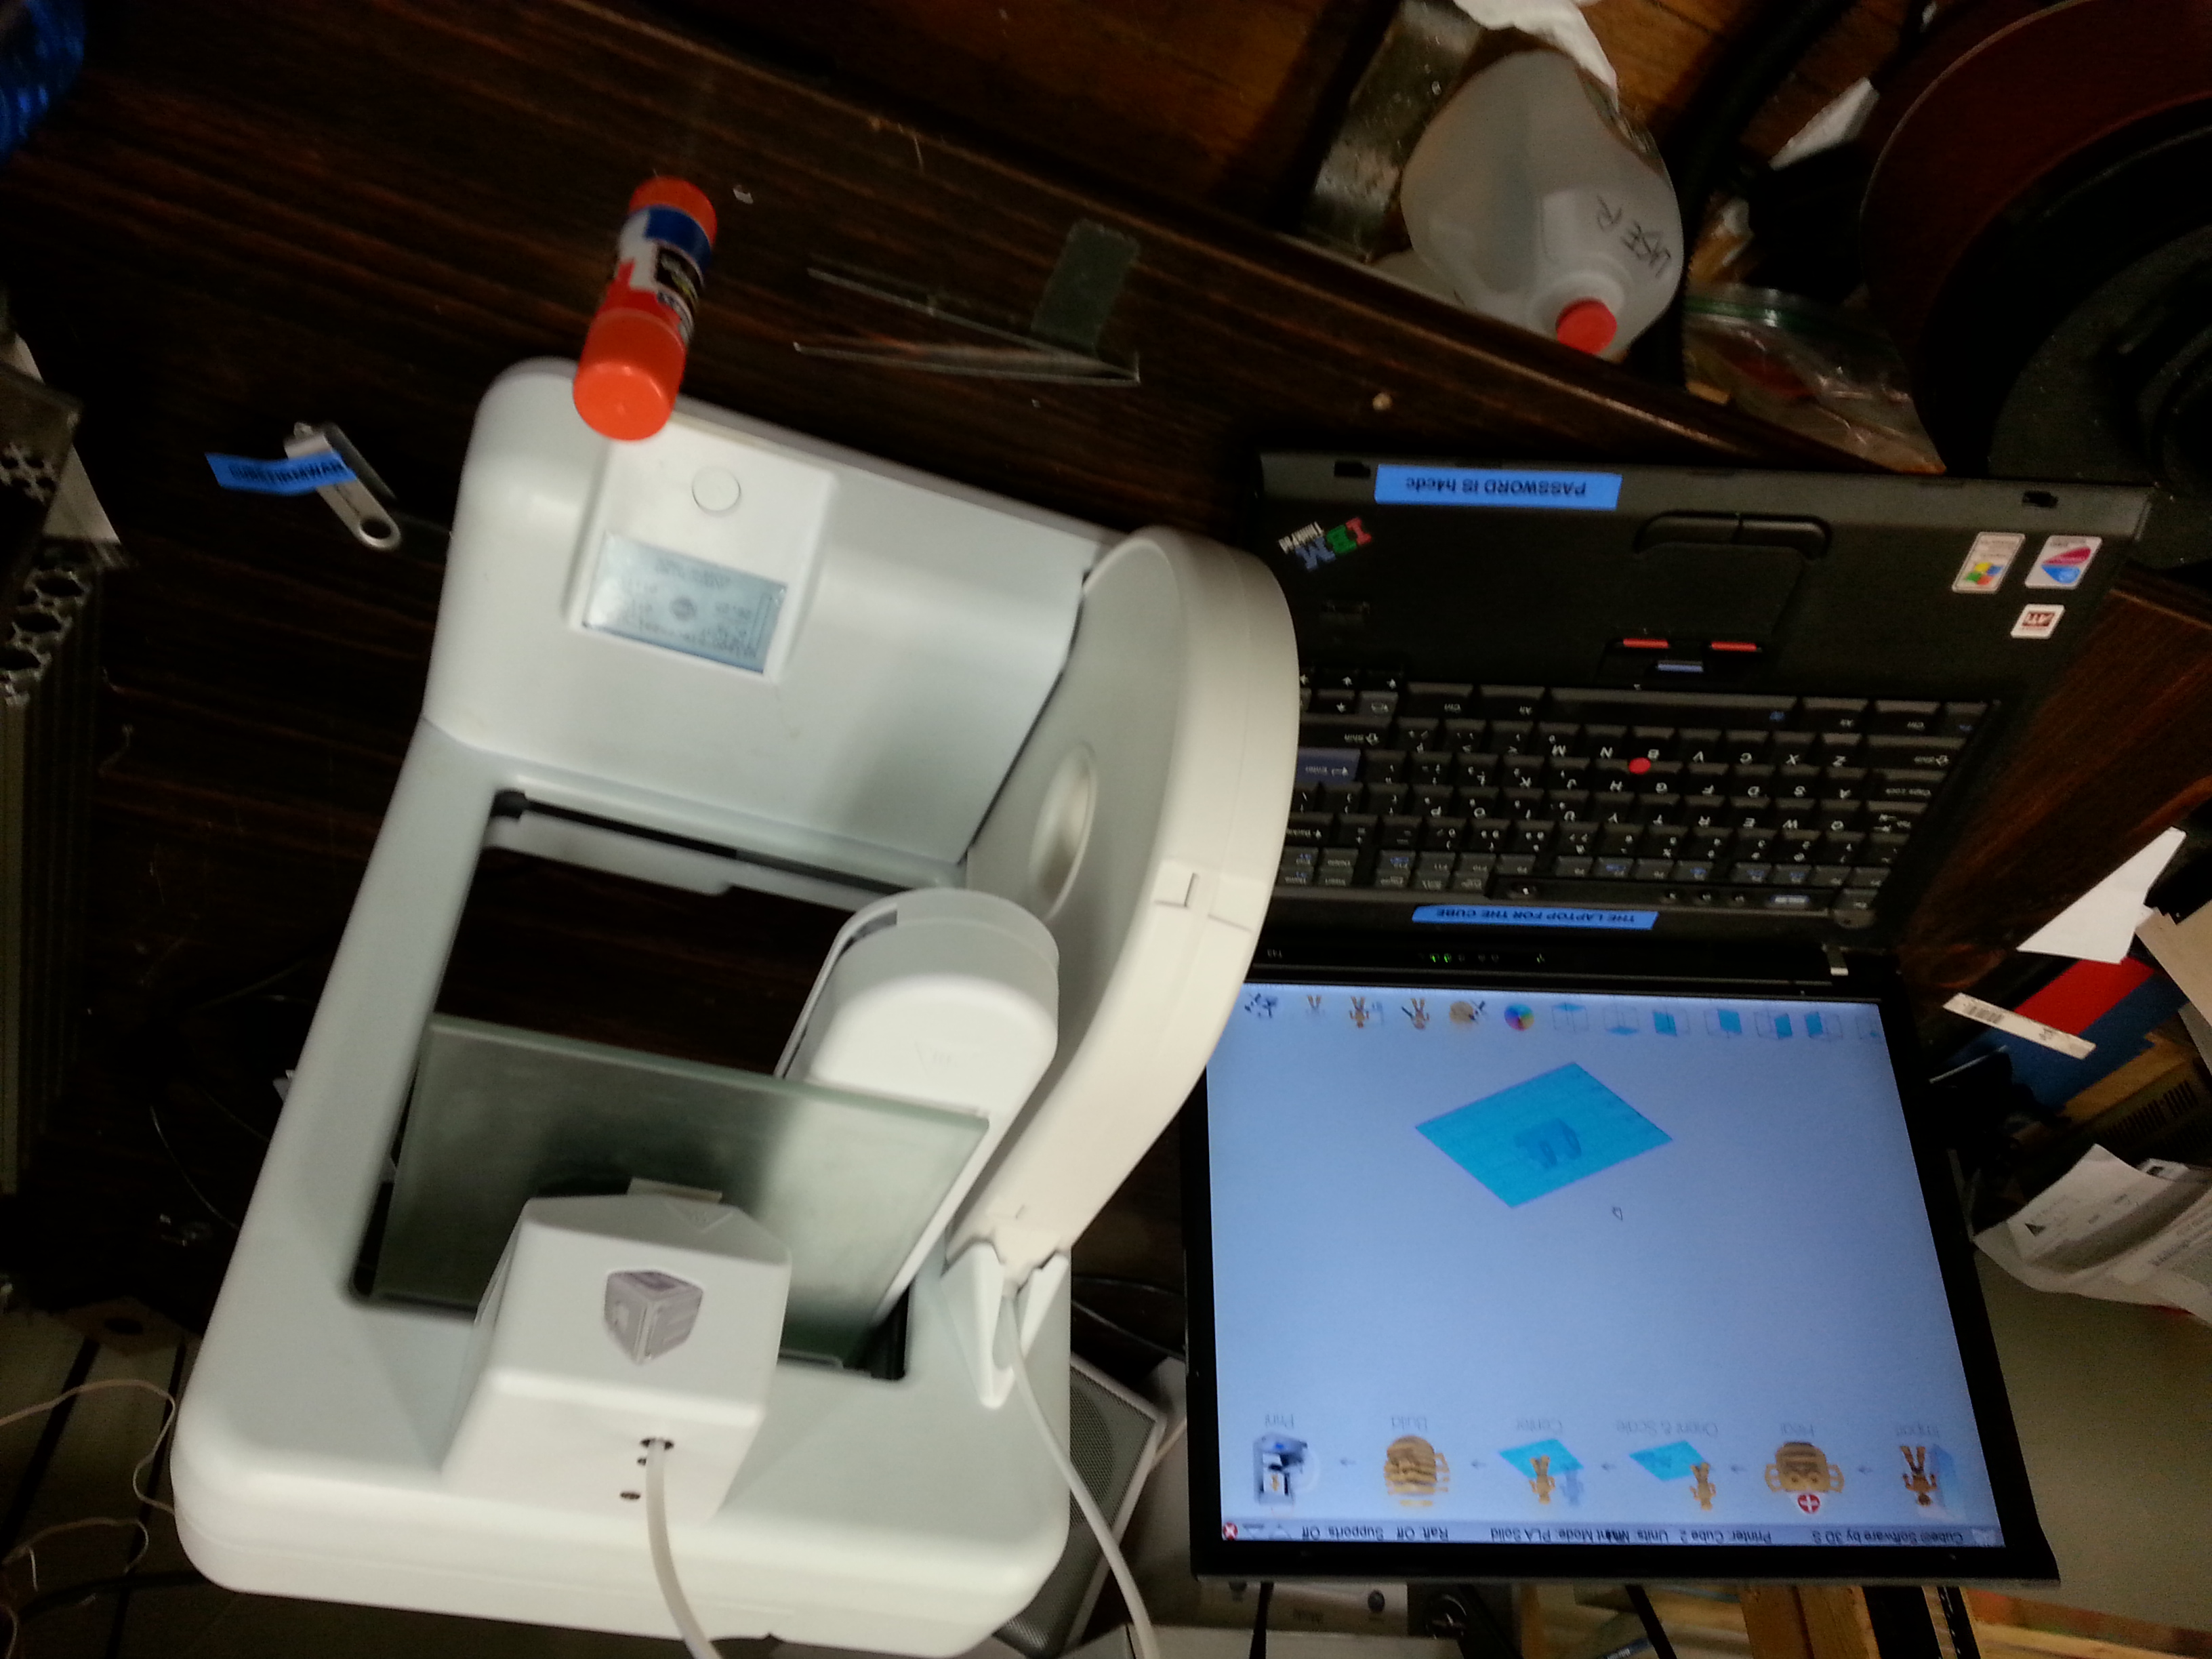
HacDC's Cube 3D Printer.
Current Machine Status
The Cube is Operational and working well.
General Info
Model: 3D Systems Cube 2ND Generation
Printing Procedures
Instructions are mostly complete but there are still gaps. If this is your 1st print with this machine you may want to ask one of the 3D printer folks for help (We're usually around on Thursday evenings).--Nostromo (talk) 15:44, 11 February 2015 (PST)
3D File Preparation
The cube uses proprietary slicer software to convert a ".stl" file to a ".cube" file which is what the cube printer understands.
- Power on the Laptop labelled "THE LAPTOP FOR THE CUBE"
- Open the "Cube Software"
- Import your .stl file
- Settings
- Raft: Isn't needed as the bed is pretty level
- Print Mode
- Hollow: for the impatient (Think egg shell)
- Strong: is a good choice
- Solid: Lots-O-Plastic and Lots-O-Time but very strong (Because of the hazard, print operations can't be left unattended so 4 hr prints mean ... bring a book ;-)
- Heal (This adapts to some specific Cubify thing??)
- Center
- Build (This will create the the .cube file in the same directory as the .stl file)
- Attach the USB Key labelled "CUBE FIRMWARE" to the laptop and copy the .cube file to it.
At this point a .cube file has been generated and you're ready to move on to the next step.
Powering on the Cube
- Make sure the Cube is located on a level surface and the filament feed tube isn't being bent (By a shelf etc..)
- Make sure the power brick is plugged in all the way
- Press the button just below the screen (Screen should wake up)
- You're almost ready to print
Before You Start The Print!!
Make sure you have the following items:
- Elmer's Washable School Glue Stick (Purple Glue Stick)
- Tweezers (Need this to remove the extruder drippings just before the print starts)
Prep the Print Bed (IMPORTANT)
- Remove the glass build plate and wash/dry it in the sink
- Do a final clean using glass cleaner and a paper towel
- Use the glue stick to apply a thin layer of glue to the entire surface THOROUGHLY (This will allow you to remove what you've built)
- Reattach the build plate
Start the Print
- Navigate though the LCD menu and find the file you uploaded
- Select it and your print should start
- After about 10? seconds the print head will move to about 1/2" above the build plate
- It will now begin heating up the extruder.
- Use with the tweezers to remove any filament that comes out as it heats up the extruder for about 30? seconds.
- When the head starts moving again remove your hands and tweezers as it's about to start printing
- ... hurry up and wait as it prints ...
- Watch for stickage issues or if things start going horribly wrong. Especially if the print head starts smacking into hardened plastic etc.
- If you need to abort the job then do so.
- When the print finishes please turn off the printer (Hold down the button until the cube powers off)
Removing the Print from the Build Plate
You're almost done now it's time for the last step. Removing the print from the build plate.
- Fill a container (That will fit the part and build plate) with warm water from the sink (Takes a while but it does get warm)
- Put the build plate and the part in the warm water to let the Elmer's glue dissolve (Yup that was a very important step ;-)
- As the water works it's way into the glue you'll see it start to turn purple when you look though the glass build plate
- Slowly begin working the plastic part off of the plate (allowing the water to get behind and dissolve the glue)
- It's wet and messy so please be careful and try not to spill the water on anything electrical.
- Please don't use metal tools to remove the part from the glass (It will damage the glass :-(
- If you need to pry, try a credit card or something equally as plastic.
Please Clean up for Others
Please do the following procedure so the next person can use the machine
- Wash/dry the build plate in the sink and put back on the machine
- Drain the container and dry it and return it to where you found it
- Put all the tools back in their storage box
- Shutdown the laptop and store it next to the printer
- Make sure you shut off the printer (Very Important)
- If you we're happy with your experience please consider putting a buck or 2 in the tip jar :-)
Bed Leveling
The bed is pretty level/As level as it's going to get. Please don't adjust as it's very fiddly and will probably only get worse.
Z Axis Height Adjustment
Currently set at 1.57z. This should allow a piece of paper to slide freely underneath it without feeling like it's dragging.
Notes
Connecting to the Cube via Wifi
This works on occasion but your better off just transferring the .cube file to the usb key and printing via the LCD menu.
- Use the laptop next to the cube “The laptop for the cube”
- Wireless network is “Cube-00c9”
Hacks that Make This Thing Work
Firmware is hacked to ignore filament cartridge life (aka you can refill cartridges)
Firmware Updates
DON’T DO IT BECAUSE WE’LL LOSE THE HACK THAT KEEPS IT ACTIVATED AND LETS US REFILL THE FILAMENT.
Pages in category "Cube"
The following 2 pages are in this category, out of 2 total.

